Triple Layer Basque Burnt Cheesecake
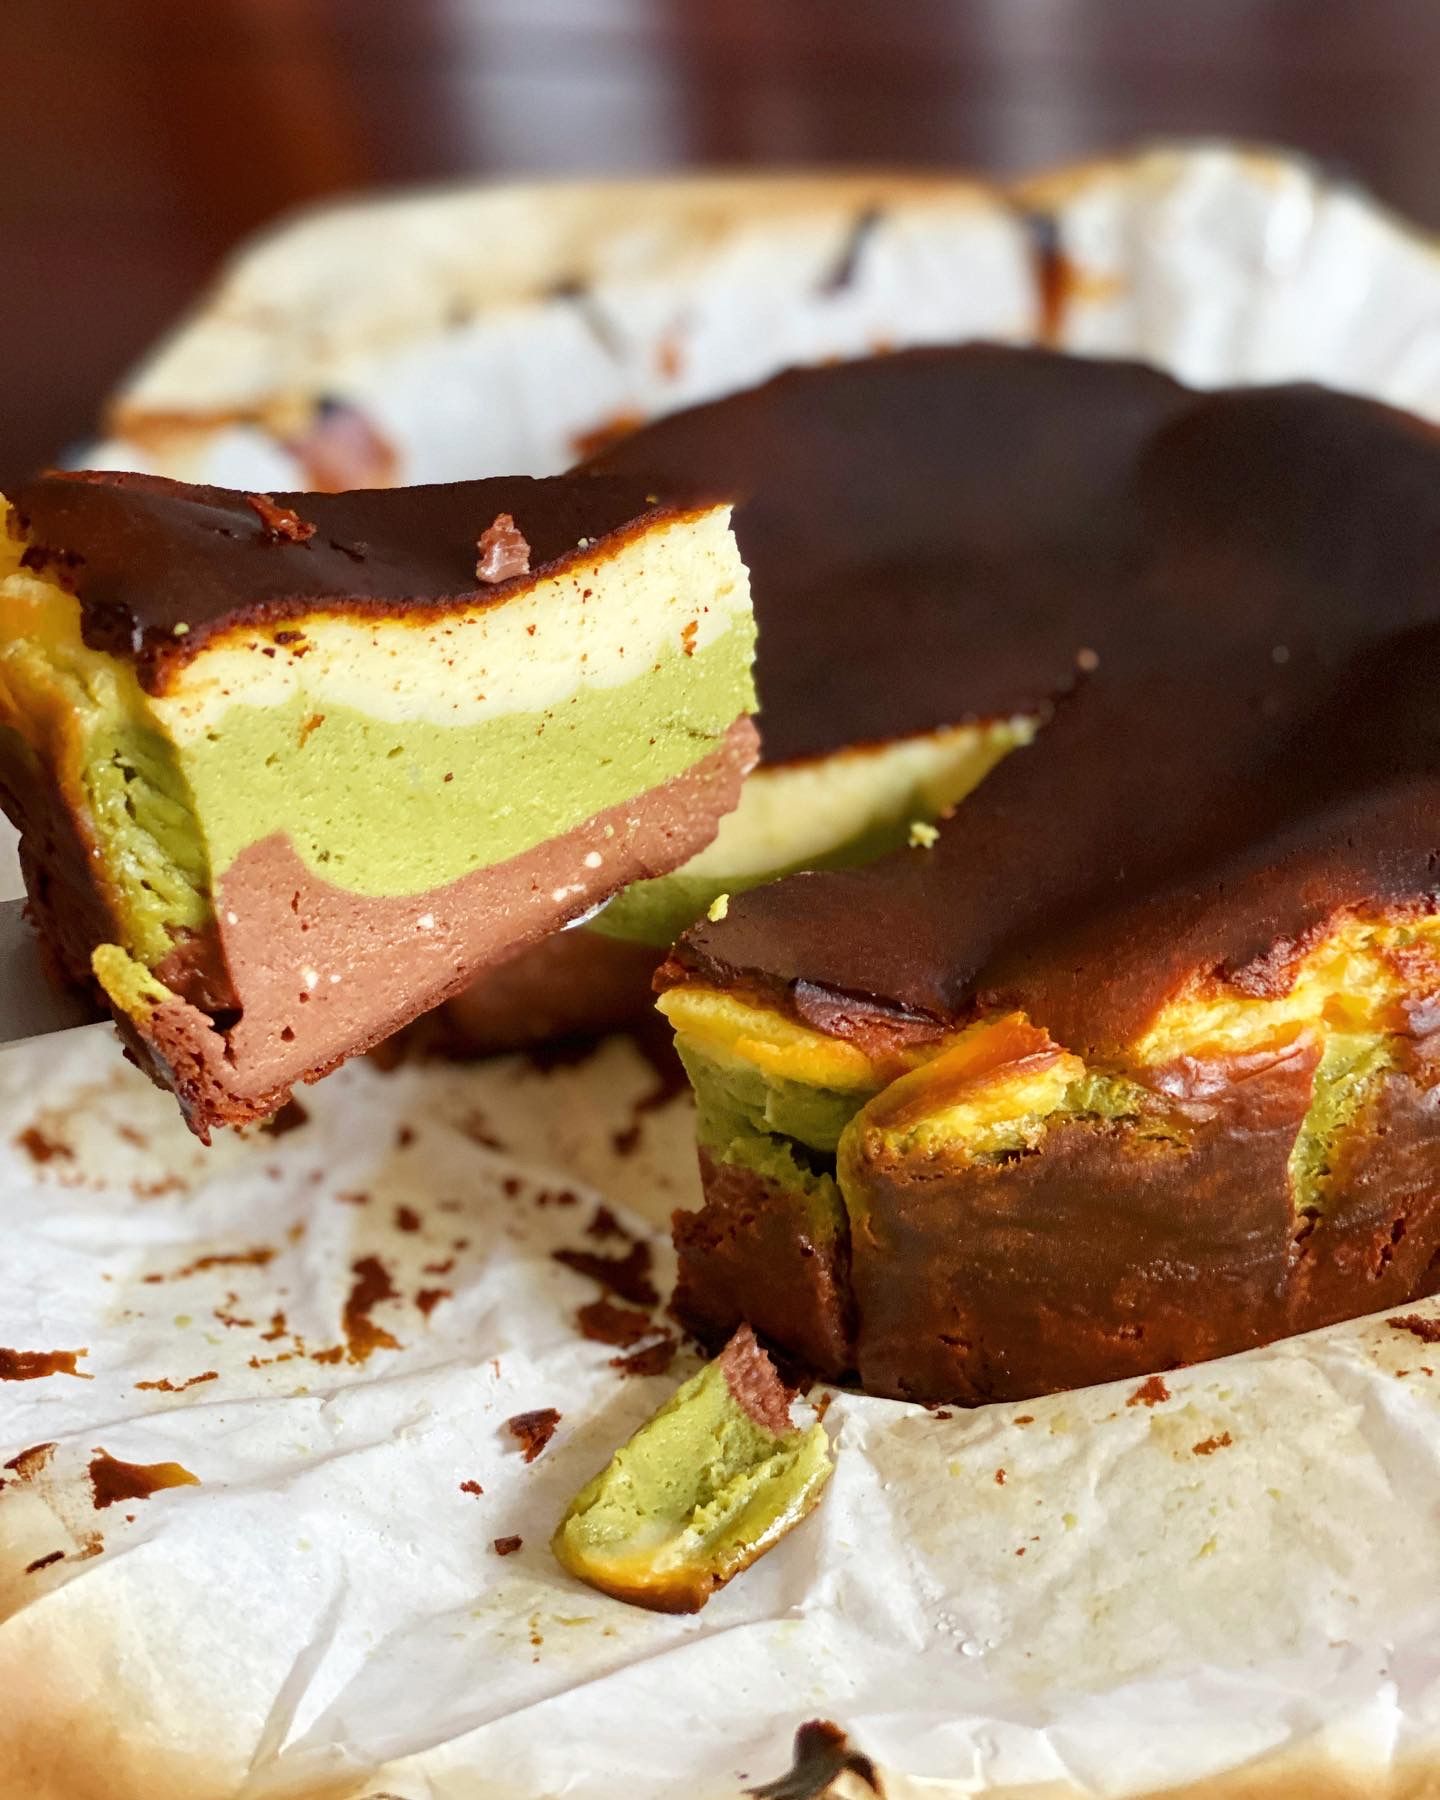
For those who followed me on Instagram, you will know that this is my second attempt in the trending Basque Burnt Cheesecake. I am proud to say this is a way better than my previous attempt. I achieved the beautiful caramelised top colour (previously was like charcoal black opps) and I got the beautiful flowing layers of different flavours perfectly! ( previously it all blended opps). I am super touched when I did received some comments that this is cafe-worthy! *tears of happiness*
It is not as difficult as you think. If you tried making burnt cheesecake before, you can achieve this! The key really in the density layers. You just need additional flavours of your choice and an additional 15 mins to separate and mix the batter!
Additional Tips
- You can replace All-purpose Flour with Cake Flour
- You can add the amount of chocolate by 20-30% to give it a richer look and taste, however, it must be the bottom layer of the cheesecake.
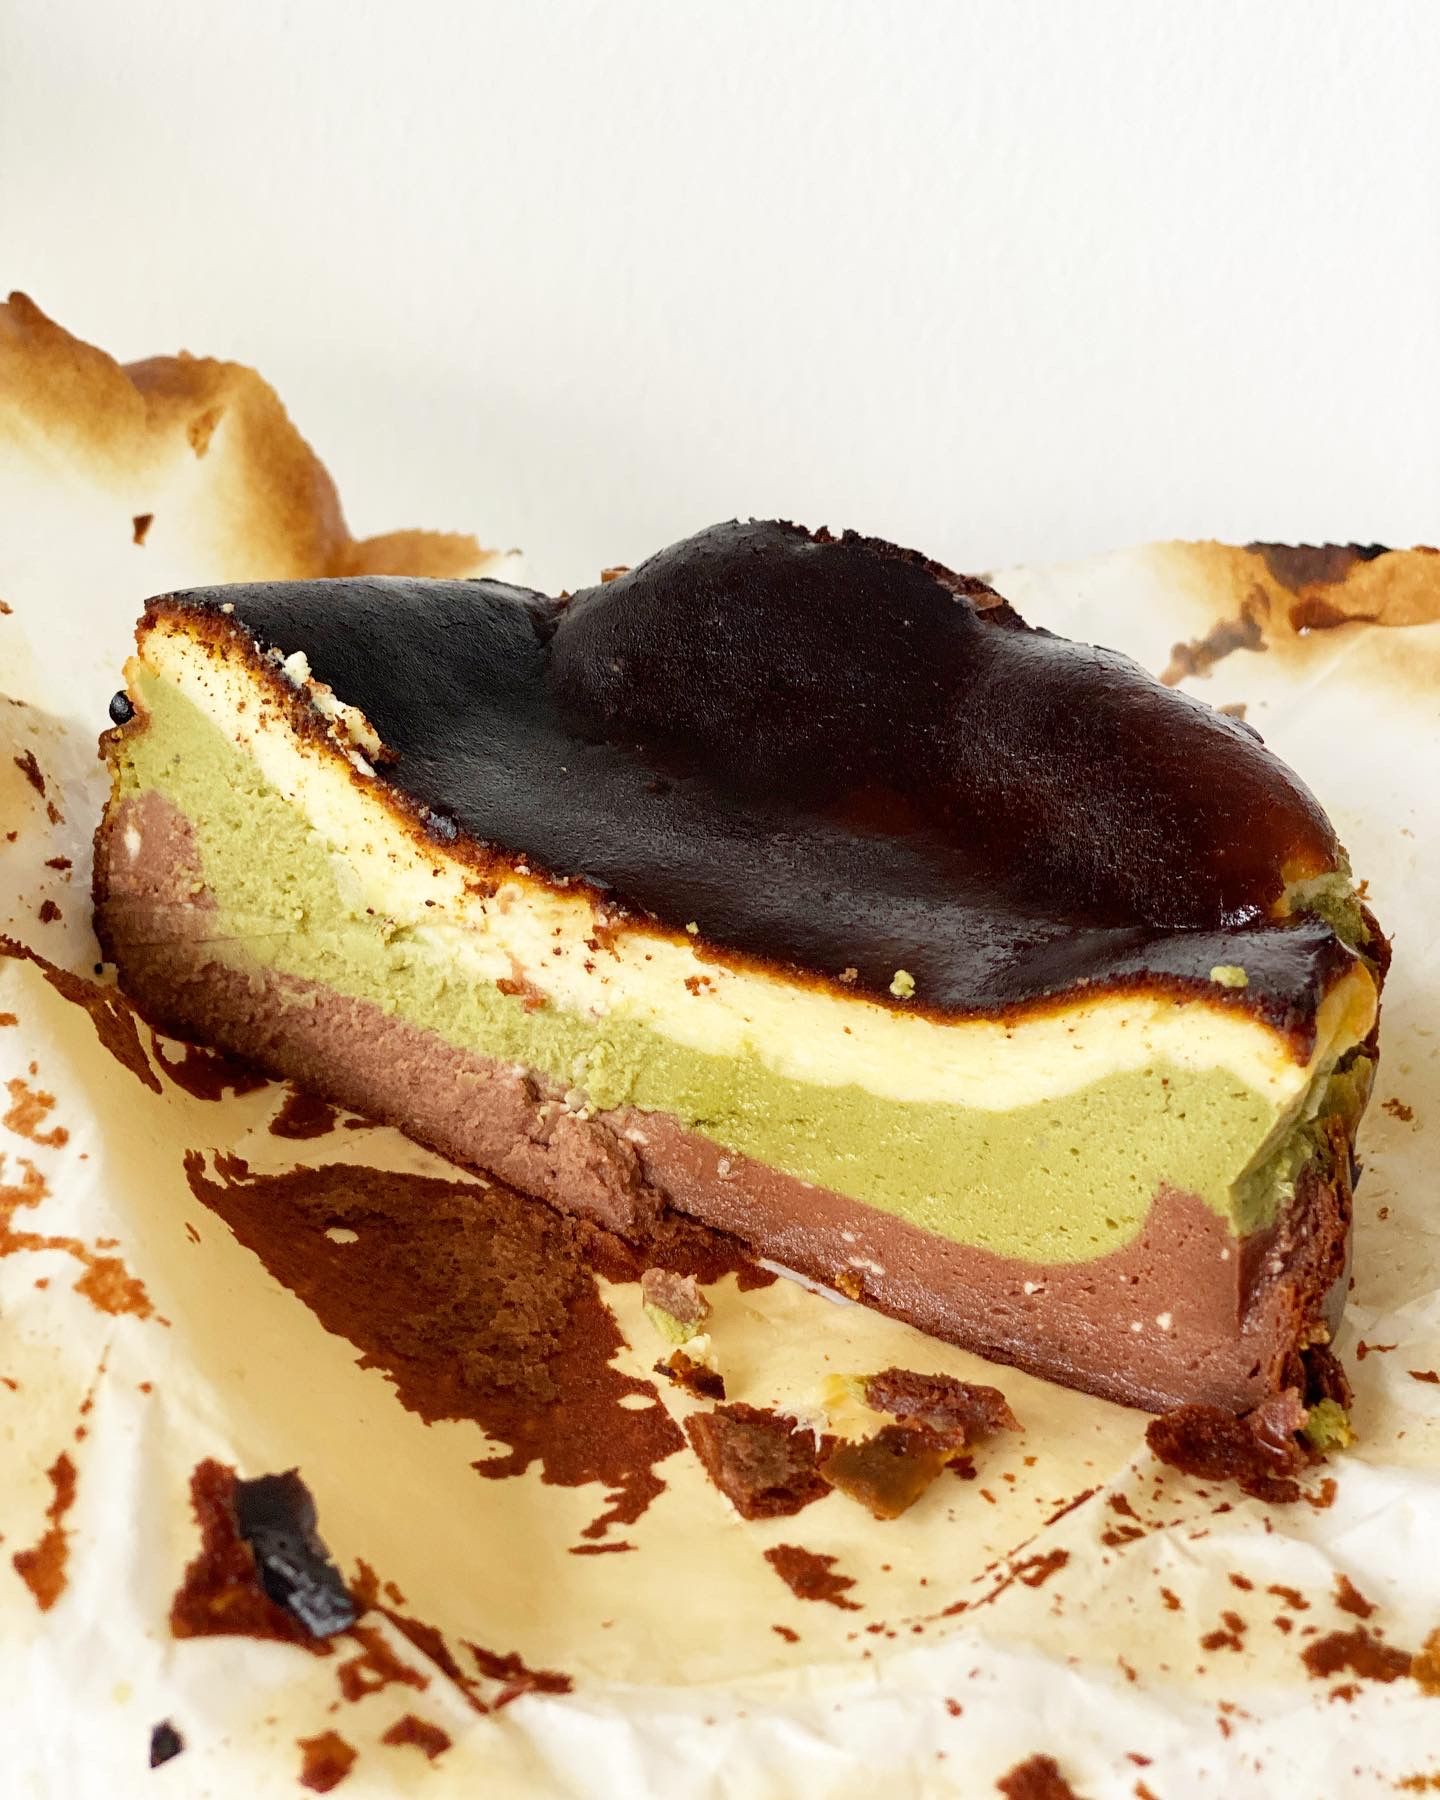
- Do let it rest and set before cutting the cake as you might end up with a molten mess. However, it can be the result you want for Instagram purposes. As you can see, my cheesecake is cut after about 30mins of cooling down, hence it has a more stable consistency with the tofu soft creamy texture.
- I highly recommended watching the bake at all times as the top can be easily over-burnt (like my previous attempt), cover it with another tray on a higher rack or with an aluminium foil to reduce the charring process of the cake surface.
- Lemon and Vanilla essence helps to reduce the eggy and over-cheesy taste of the cake but you opt them out with you want.
- I will point out my own mistake (opps) : I did not mix the chocolate batter fully as I was in a rush, do mix all the batter well till evenly combined to prevent flour/batter lumps - or else you will end up with a terrazzo effect on the cheesecake ( which is pretty as well - on the bright side hehe).
Triple Layer Burnt Cheesecake Recipe
(Matcha Green Tea, Chocolate and Cream Cheese Original Flavour)
Ingredients:
350g cream cheese
70g sugar
2 eggs
250g heavy cream
20g all purpose flour
1 tsp vanilla extract
1 tsp lemon juice
3 tbsp matcha powder
40g dark chocolate chunks/powder
6” circle cake tin lined with baking paper
Bake at 220 °C for 30-35 mins
Instructions:
- Preheat the oven to 220 °C
- In a mixing bowl, beat the sugar and cream cheese together in medium speed until smooth and no more sugar in sight.
- Add the egg one at a time while beating the mixture at medium speed till smooth.
- Add in the vanilla essence and lemon juice and beat till evenly creamy.
- In a separate bowl, add in the flour.
- Add in the cream bit by bit ( preferably across 4 times), mix till smooth without any flour lumps.
- Slowly pour in the cream flour mixture into the cheese mixture and mix at low speed till all is combined, do not need to over-mix.
- Weigh the final batter and split it into three portions.
- Melt the chocolate chunks in a bowl placed over another bowl filled with hot water.
- Add the liquified chocolate or chocolate powder into one portion of the batter. Mix well.
- Add matcha powder into another batter. Mix well.
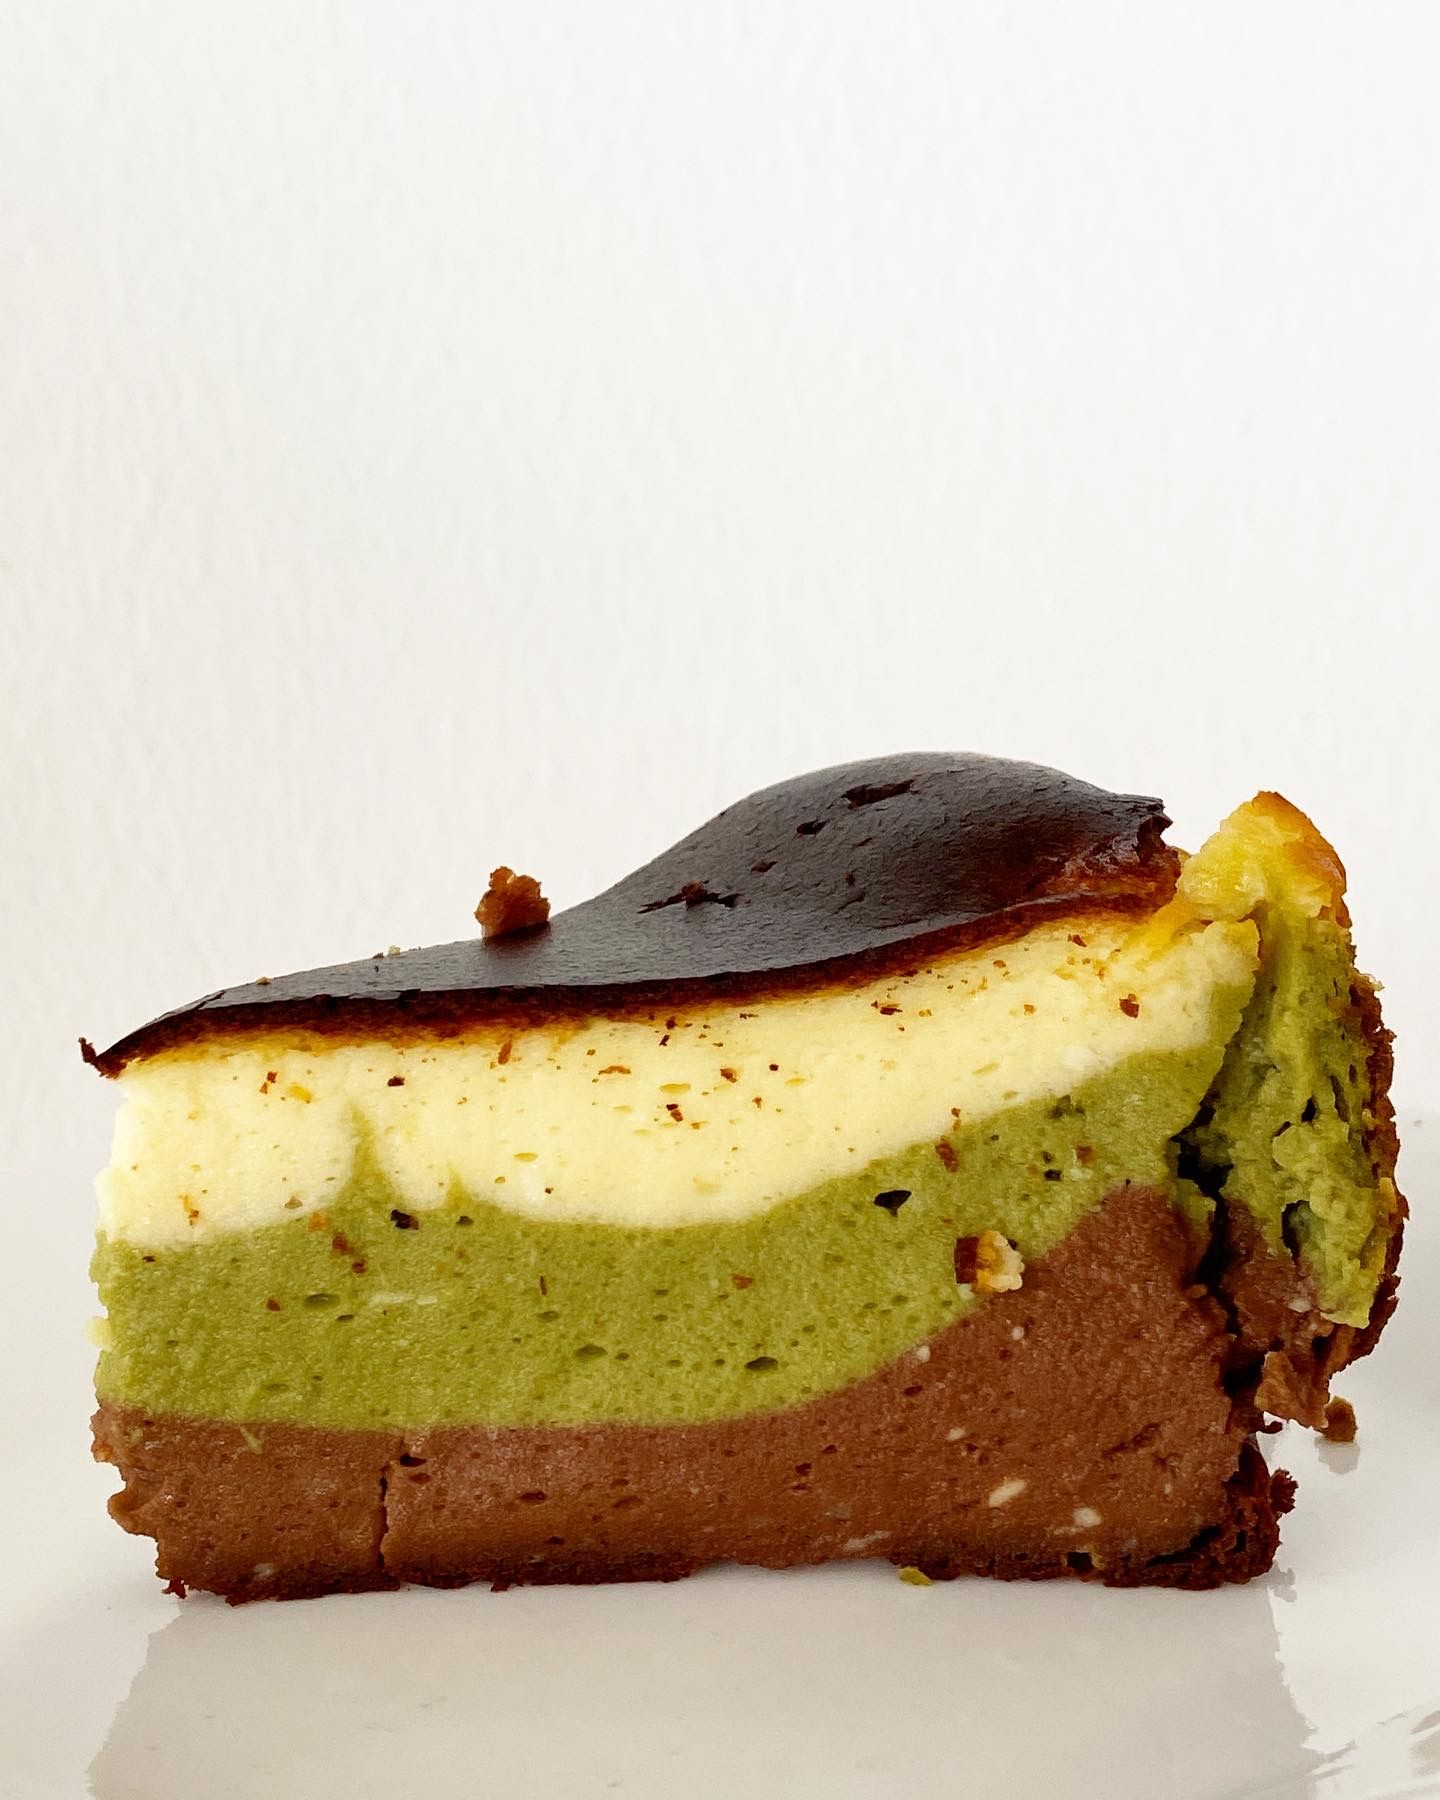
- Pour the chocolate batter into the base of the tin, hit it lightly on the surface a few times. Followed by the matcha batter. (Do not hit this time) Lastly, the original flavour batter on the top.
- Use a spatula to even out the top carefully.
- Bake at 220 °C for 30-35 mins.
- Check on the bake after 10 mins, when the top turned golden brown, use an aluminium foil to cover the top or another tray on the top rack.
- After taking it out, give the pan a shake and you will get a nice jiggle.
- Let it cool in the tin fully before removing it. Cut it and enjoy the beautiful layers of chocolate, matcha and cheesy goodness!
Recipe Video
Or you can find it on my IGTV as well!
You can follow me on instagram for the latest food and recipes updates!
Hope you enjoy this recipe! You can always DM me if there is any questions or issues, I am happy to receive feedbacks as well! Do tag and share your successful bakes with me, I will love to celebrate the joy of successful baking results with you if you let me :)
*** signing off with sparkles ***